


Air Struts Length Adjustment Guide
Note: After the air struts are installed on the vehicle, its length adjustment method is different from that of coilovers. Please strictly follow the steps below for operation, and pay special attention to the key warning: The lock ring on the air spring lower mount is already fixed; do not adjust or rotate it to avoid damaging the air spring or affecting the suspension system’s safety.
Step 1: Initial Measurement and Data Recording
Before adjusting the shock absorber length, first record the initial state parameters to establish a reference for subsequent adjustments:
- Ensure the vehicle is parked on a level ground and the air spring is inflated to a stable pressure (record this pressure as P).
- Use a measuring tape to measure the vertical distance between the wheel arch (the highest edge of the fender) and the center of the wheel rim. Record this distance as H1 (this reflects the initial body height relative to the wheel).
Step 2: Disassemble and Measure the Lower Mount Initial Position
To accurately adjust the shock absorber length, you need to measure the position of the lower mount relative to the air spring mount:
- Safely lift the vehicle (use a jack and jack stands to ensure stability) and remove the wheel rim.
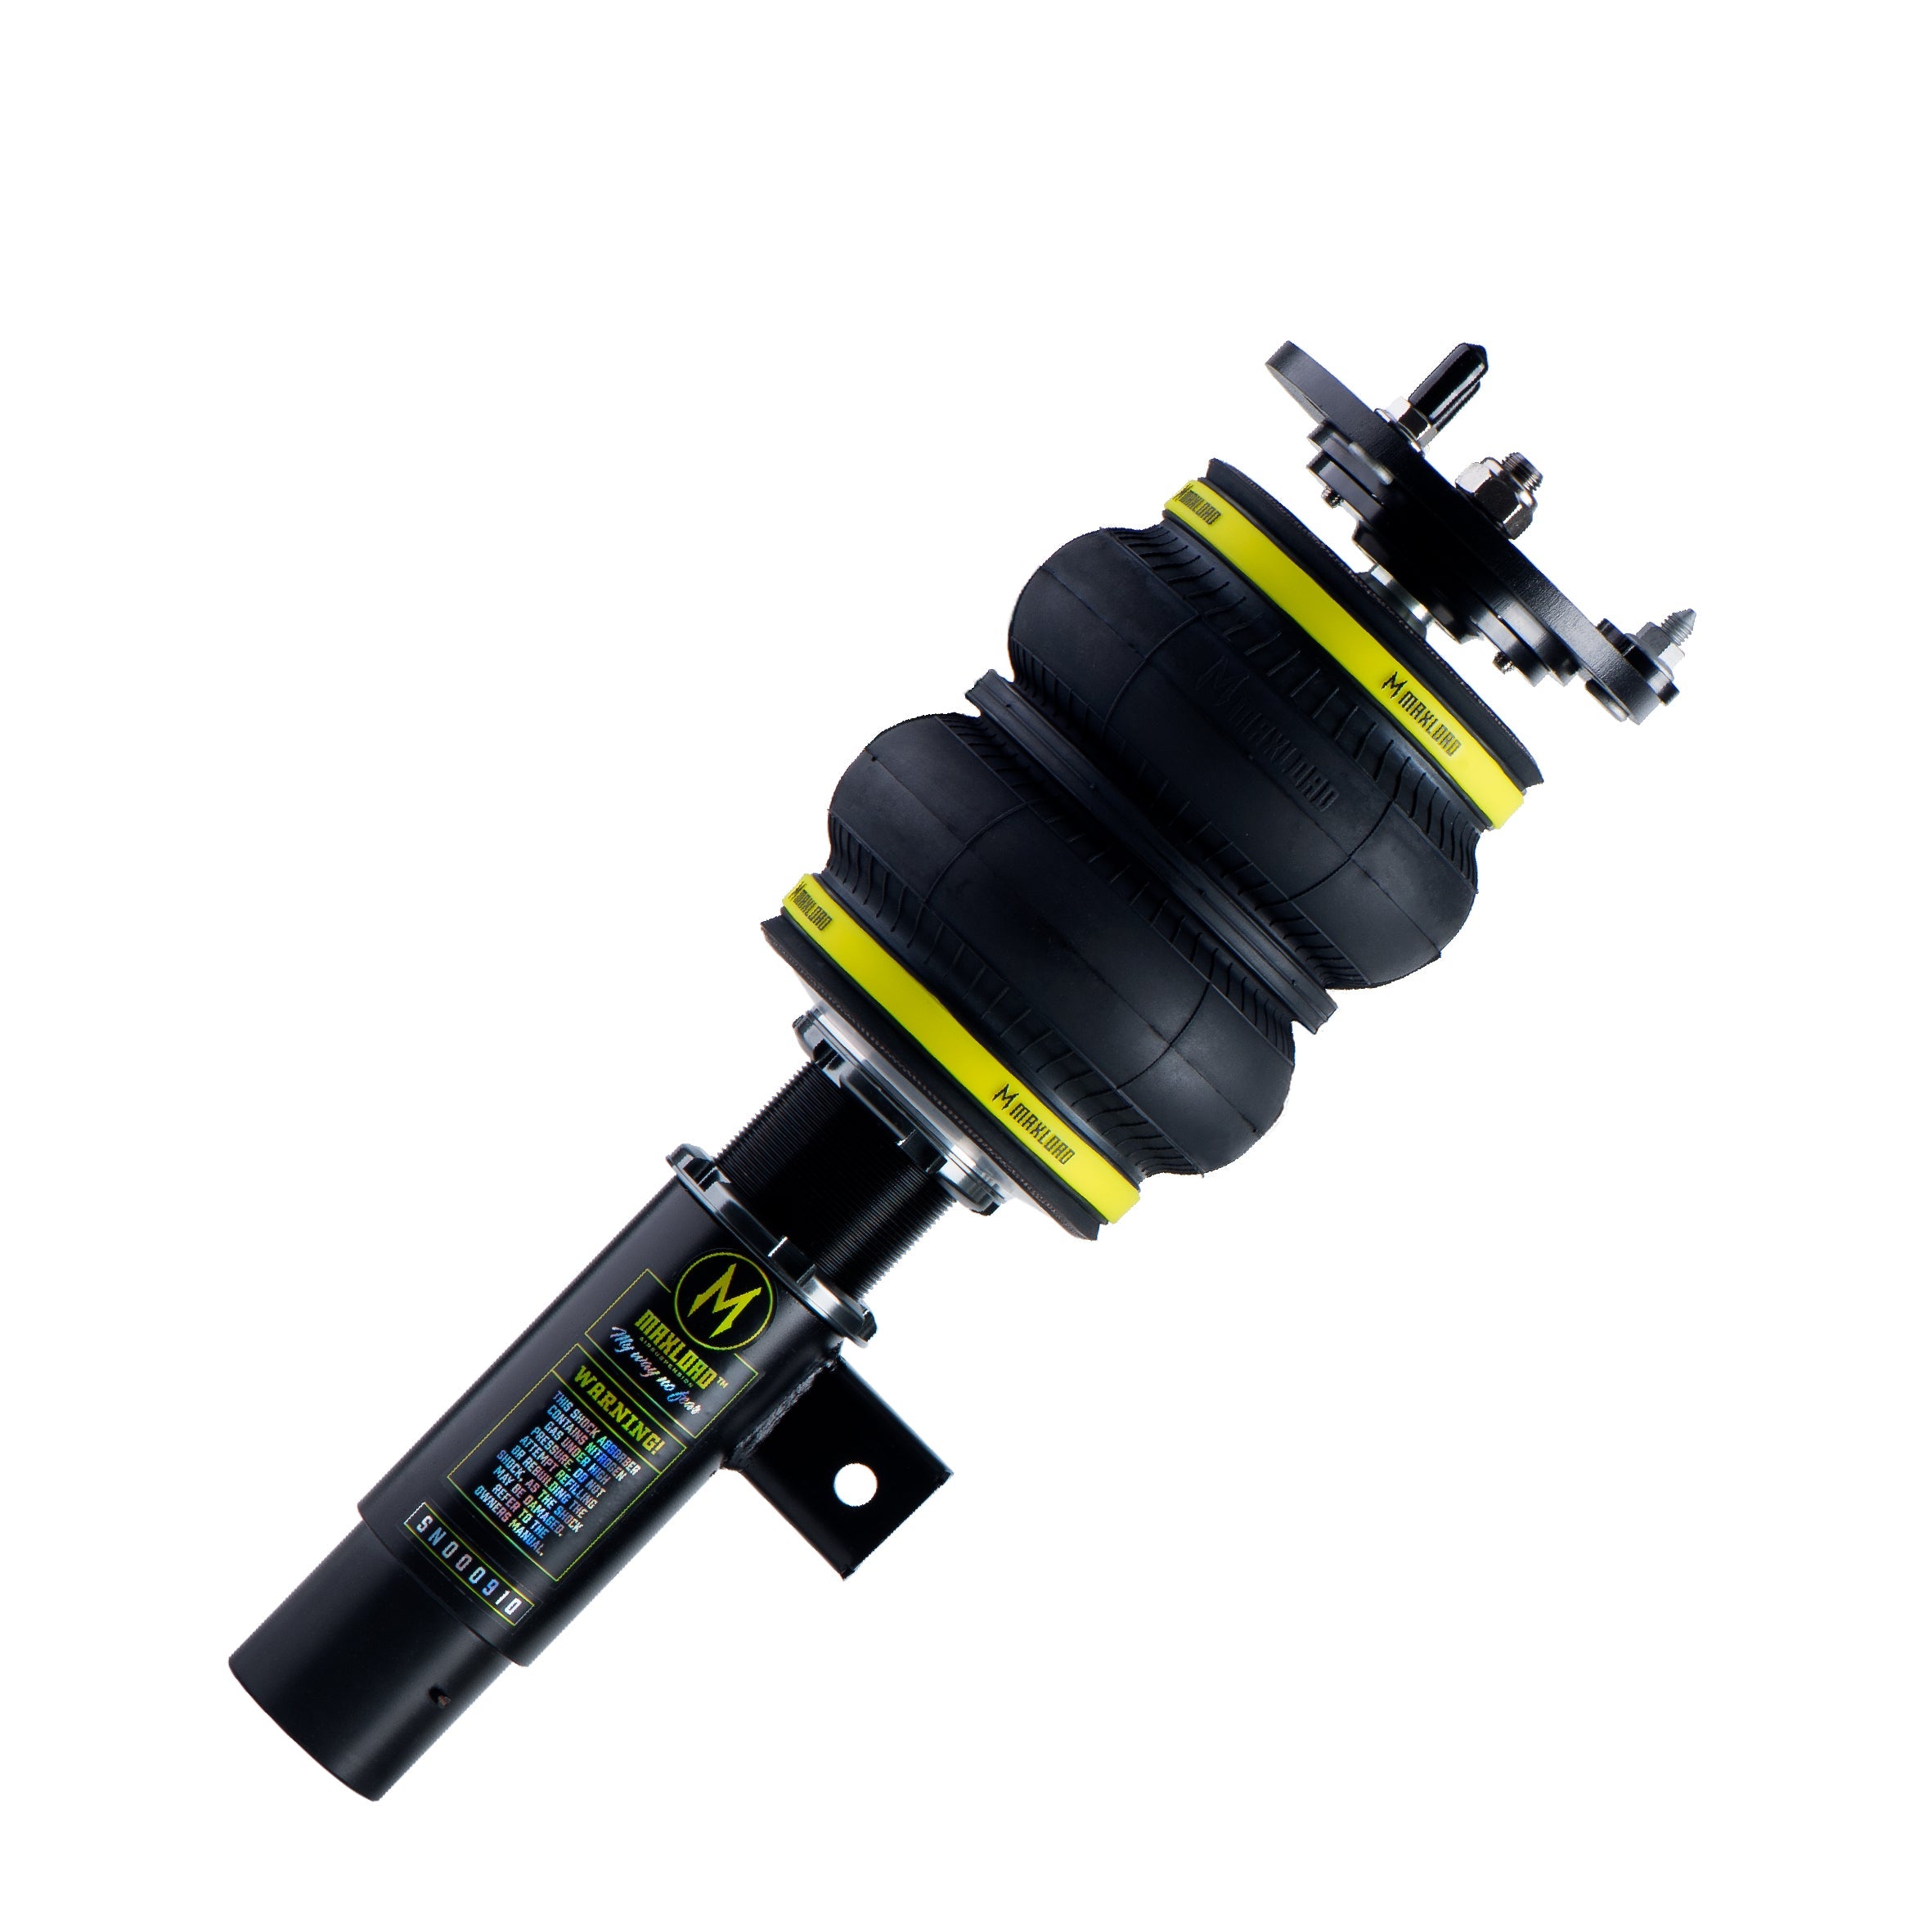
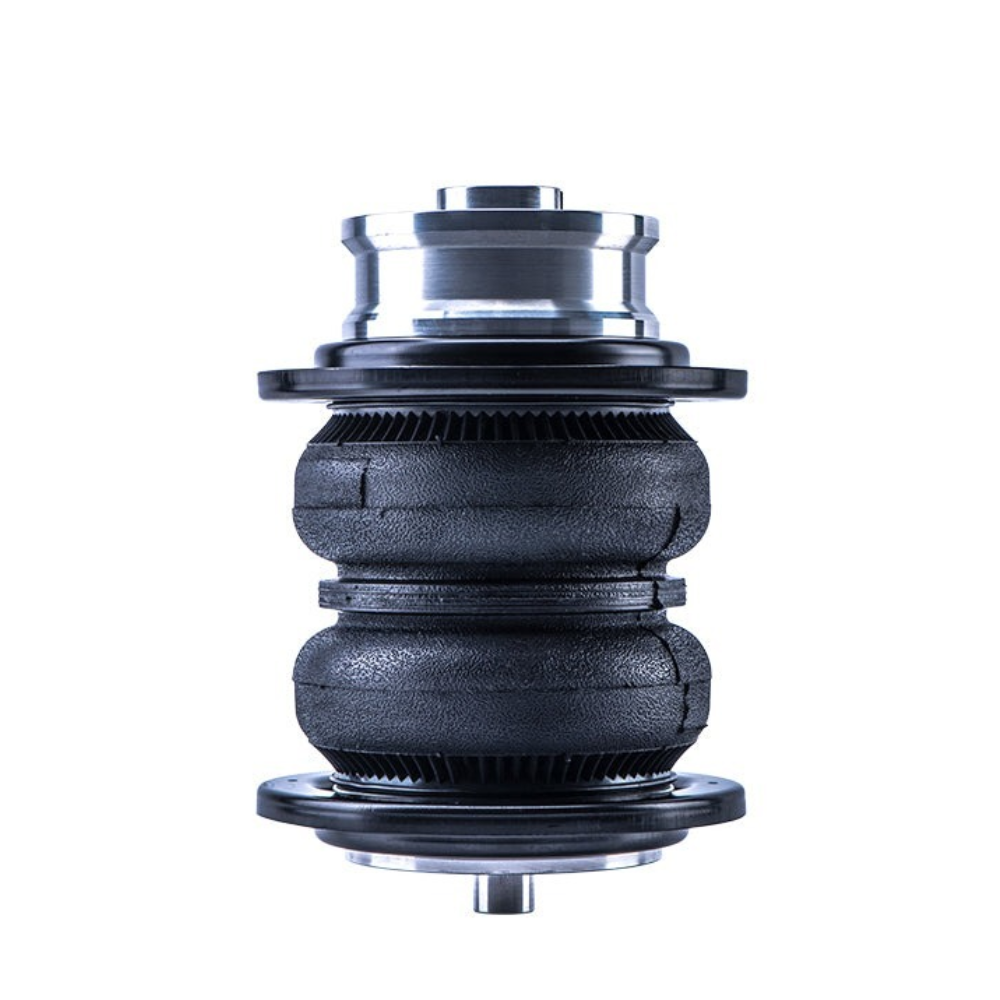
- Locate the air spring lower mount and its fixed lock ring (do not touch the lock ring). Measure the vertical distance between the top end of the lower mount and the lower surface of the lock ring on the air spring lower mount. Record this distance as A1.
Step 3: Adjust the Lower Mount Position and Re-Measure
This step is the core of changing the shock absorber length; adjust the lower mount position and record the new parameter:
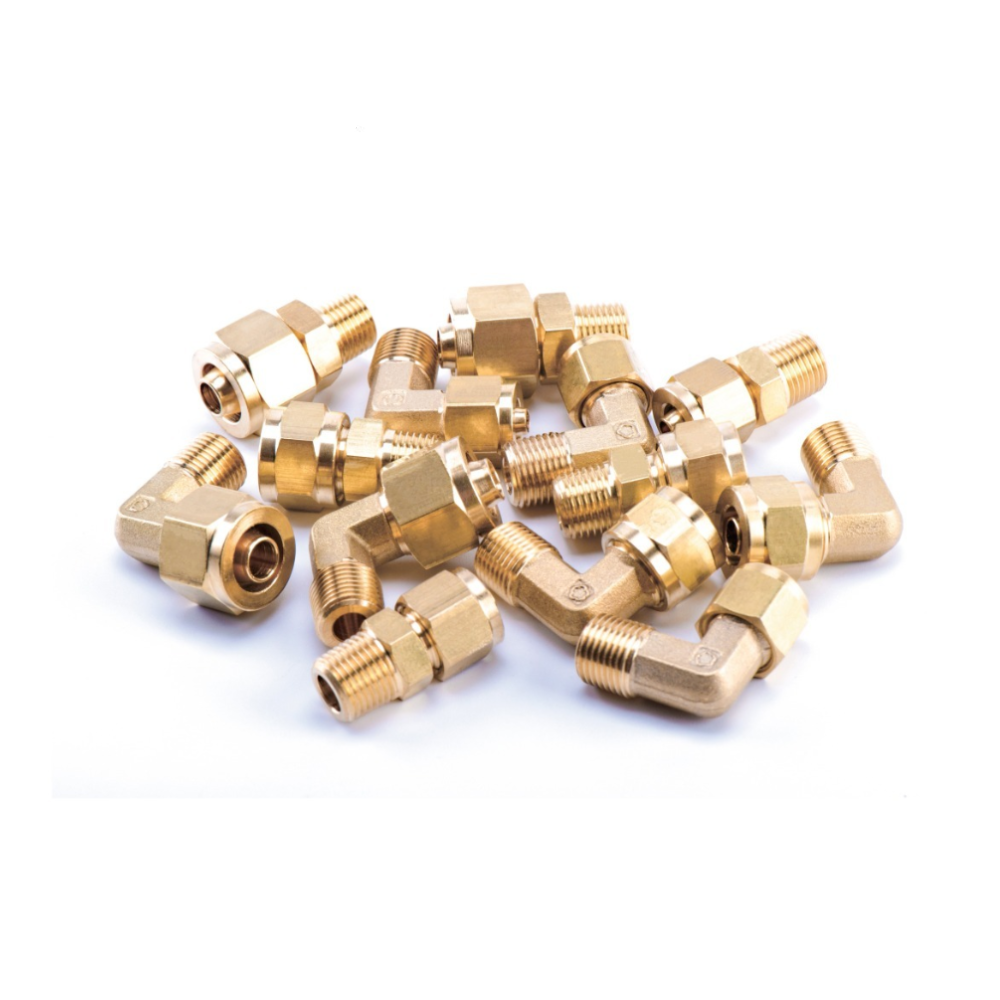
- Disconnect all connections between the lower mount and the vehicle body (e.g., control arm bolts, stabilizer link fasteners) to avoid restricting the tube’s movement.
- Loosen the lock ring on the lower mount (not the fixed lock ring on the air spring lower mount). Rotate the lower mount clockwise or counterclockwise to change its extension length (clockwise rotation usually shortens the strut, while counterclockwise lengthens it—confirm based on your shock absorber’s thread direction).
- After adjusting the lower mount to a new position, re-tighten its lock ring temporarily. Then re-measure the vertical distance between the top end of the lower mount and the lower surface of the air spring lower mount lock ring, and record this new distance as A2.
Step 4: Reassemble and Verify the Height Change
After adjusting the lower mount, reinstall components and check the actual body height change:
- Reconnect all disassembled parts between the lower mount and the vehicle body, ensuring all fasteners are tightened to the manufacturer’s specified torque.
- Reinstall the wheel rim and carefully lower the vehicle to the ground. Inflate the air spring back to the initial pressure P (to eliminate pressure differences affecting height measurement).
- Re-measure the vertical distance between the wheel arch and the wheel rim center, and record this new distance as H2.
Step 5: Calculate and Fine-Tune to Reach the Target Height
Use the measured data to calculate the adjustment ratio and complete the final fine-tuning:
- Calculate the adjustment difference of the lower mount: ΔA = A2 - A1 (a positive value means the distance between the lower mount top and the lock ring increased; a negative value means it decreased).
- Calculate the actual body height change: ΔH = H2 - H1 (a positive value means the body height increased; a negative value means it decreased).
- Use the ratio of ΔH to ΔA to determine how much to adjust the lower mount to reach your target height. For example: If your target height is H_target (e.g., you want the body to be 10mm higher than H1, so H_target = H1 + 10mm), first calculate the required total height change: ΔH_target = H_target - H1. Based on the previously measured ΔH/ΔA ratio, calculate the required lower mount distance adjustment: ΔA_required = ΔH_target / (ΔH/ΔA).
- Repeat Steps 3–4: Adjust the lower mount’s position to make the distance between its top and the air spring lower mount lock ring equal to (A1 + ΔA_required), then verify the body height. Repeat until the measured H matches your target height, then fully tighten all lock rings and fasteners.
Important Warnings
- Always work on a level surface with the vehicle securely supported—never rely solely on a jack during disassembly/adjustment.
- Do not over-tighten the lower mount lock ring; follow the manufacturer’s torque specifications to avoid thread damage.
- After adjustment, test-drive the vehicle at low speed first to check for abnormal noises or vibrations, ensuring the suspension system operates smoothly before normal use.